Build a functional SAAS app in 10 minutes
To showcase the development speed with ProductFlame, we’ll build a functional, production-ready, SAAS as fast as possible. Order some food, your project will be finished by the time it arrives! 🍕
Before we begin
Section titled “Before we begin”- We assume that you already have created a stripe project for your application and and retrieved your stripe secret key. If not click here. Both production and test modes are compatible with Productflame.
- Create a new NextJS project beforehand (you can use
npx create-next-app@latest). We recommend using at least version 13 and the app router. - Install the ProductFlame’s NextJS package.
npm install @productflame/nextjsyarn add @productflame/nextjspnpm install @productflame/nextjs- Create a ProductFlame project and generate a token. Here is a step-by-step tutorial.
Creating the provider
Section titled “Creating the provider”The provider is just a file with a class invocation. We strongly recommend not hardcoding the token in the project but instead, using an .env file.
import { ProductFlameProvider } from "@productflame/nodejs";
const provider = new ProductFlameProvider("<your-secret-token>");
Check authentication and render accordingly
Section titled “Check authentication and render accordingly”To check the authentication state, we can call provider.auth.isAuthenticated() function that will return a Promise<boolean>. We’ll render the auth component or the dashboard component based on this result.
import { provider } from "@/lib/provider";import { Auth } from "./auth";import { Dashboard } from "./dashboard";
export default async function Home() {  const isAuthenticated = await provider.auth.isAuthenticated();
return isAuthenticated ? <Dashboard /> : <Auth />;}"use client";
export function Auth() { return <h1>Auth</h1>}"use client";
export function Dashboard() { return <h1>Dashboard</h1>}Create a simple register/login form
Section titled “Create a simple register/login form”"use client";
export function Auth() { return <h1>Auth</h1> return ( <div className="flex min-h-full flex-1 flex-col justify-center px-6 py-12 lg:px-8"> <div className="sm:mx-auto sm:w-full sm:max-w-sm">
<h2 className="mt-10 text-center text-2xl/9 font-bold tracking-tight text-gray-900"> Sign in to your account </h2> </div>
<div className="mt-10 sm:mx-auto sm:w-full sm:max-w-sm"> <form action="#" method="POST" className="space-y-6"> <div> <label htmlFor="email" className="block text-sm/6 font-medium text-gray-900"> Email address </label> <div className="mt-2"> <input id="email" name="email" type="email" required autoComplete="email" className="block w-full rounded-md bg-white px-3 py-1.5 text-base text-gray-900 outline outline-1 -outline-offset-1 outline-gray-300 placeholder:text-gray-400 focus:outline-2 focus:-outline-offset-2 focus:outline-indigo-600 sm:text-sm/6" /> </div> </div>
<div> <div className="flex items-center justify-between"> <label htmlFor="password" className="block text-sm/6 font-medium text-gray-900"> Password </label> </div> <div className="mt-2"> <input id="password" name="password" type="password" required autoComplete="current-password" className="block w-full rounded-md bg-white px-3 py-1.5 text-base text-gray-900 outline outline-1 -outline-offset-1 outline-gray-300 placeholder:text-gray-400 focus:outline-2 focus:-outline-offset-2 focus:outline-indigo-600 sm:text-sm/6" /> </div> </div>
<div> <button type="submit" className="flex w-full justify-center rounded-md bg-indigo-600 px-3 py-1.5 text-sm/6 font-semibold text-white shadow-xs hover:bg-indigo-500 focus-visible:outline-2 focus-visible:outline-offset-2 focus-visible:outline-indigo-600" > Sign in </button> </div> </form>
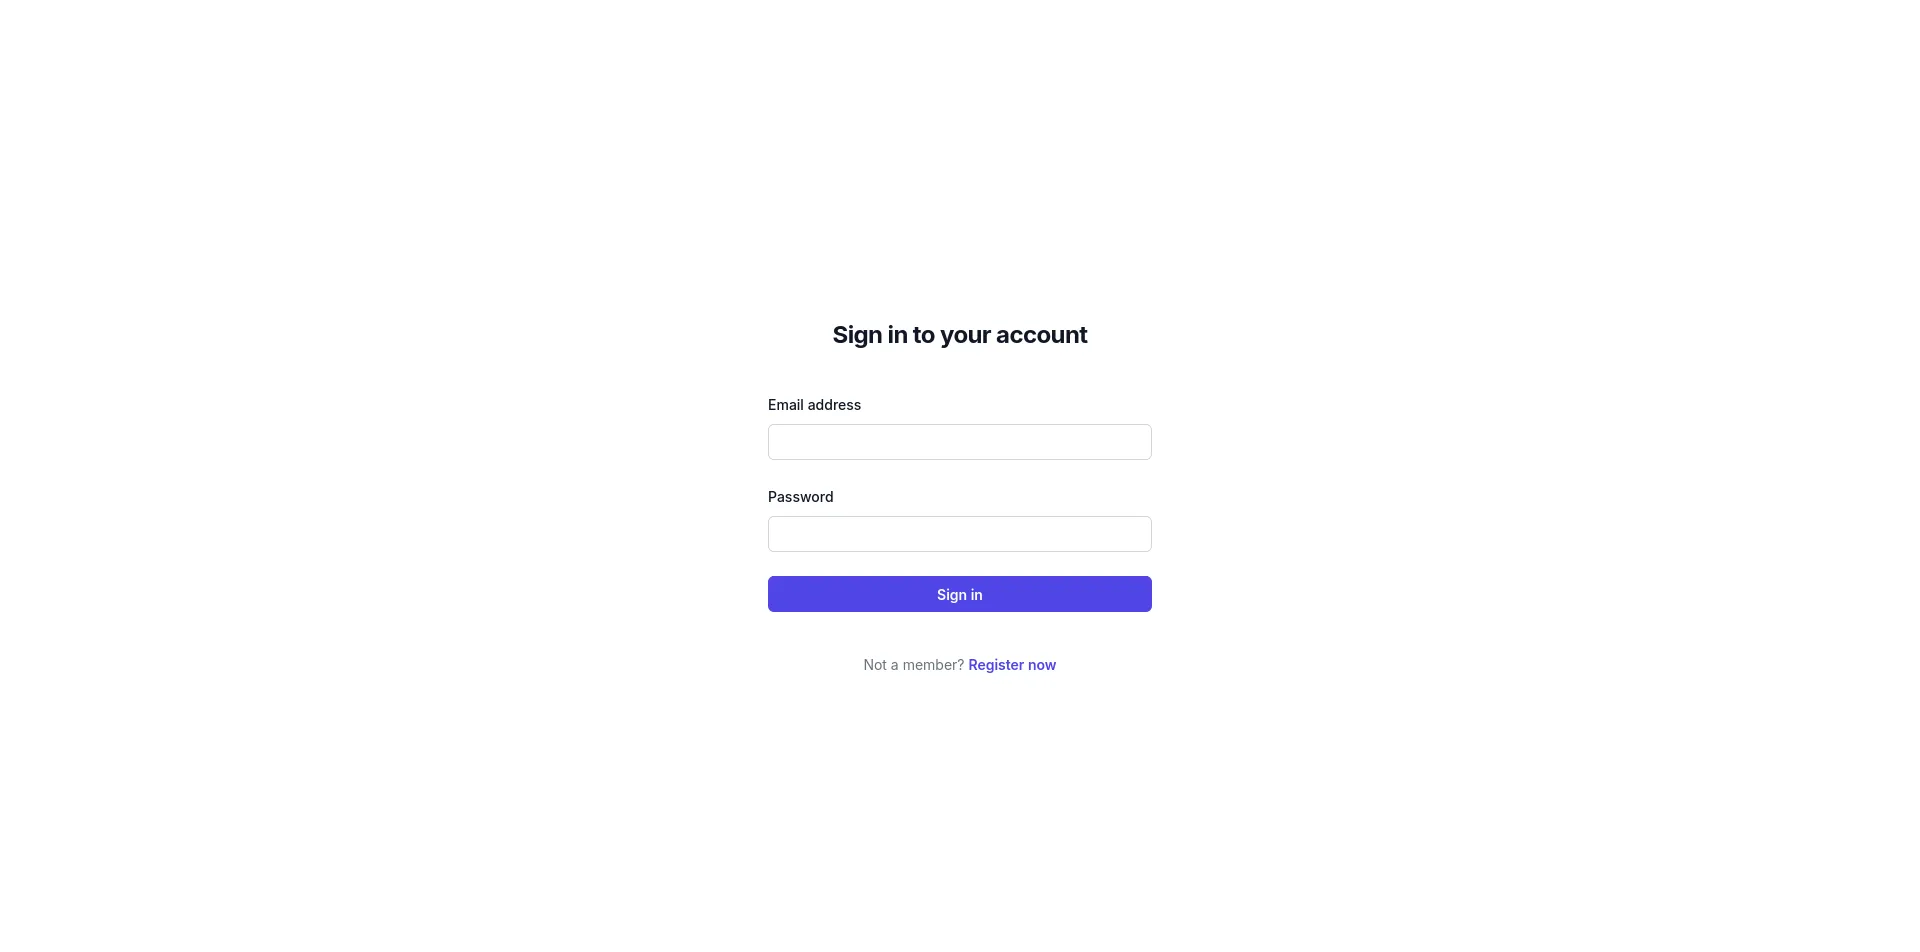
<p className="mt-10 text-center text-sm/6 text-gray-500"> Not a member?{' '} <a className="font-semibold text-indigo-600 hover:text-indigo-500 cursor-pointer"> Register now </a> </p> </div> </div> );}This is how the auth page will look like:
Handle Register and Login
Section titled “Handle Register and Login”Firstly we have to enable local authentication from the dashboard. It takes just a few clicks. More info here.
"use client";
import { useState } from "react";
export function Auth() {export function Auth({ authAction }) {  const [state, setState] = useState("login");
  return (      <div className="flex min-h-full flex-1 flex-col justify-center px-6 py-12 lg:px-8">          <div className="sm:mx-auto sm:w-full sm:max-w-sm">
              <h2 className="mt-10 text-center text-2xl/9 font-bold tracking-tight text-gray-900">                  Sign in to your account                  {state === "login" ? "Log In" : "Register"}              </h2>          </div>
          <div className="mt-10 sm:mx-auto sm:w-full sm:max-w-sm">              <form action="#" method="POST" className="space-y-6">              <form action={formData => authAction(formData, state)} className="space-y-6">                  <div>                      <label htmlFor="email" className="block text-sm/6 font-medium text-gray-900">                          Email address                      </label>                      <div className="mt-2">                          <input                              id="email"                              name="email"                              type="email"                              required                              autoComplete="email"                              className="block w-full rounded-md bg-white px-3 py-1.5 text-base text-gray-900 outline outline-1 -outline-offset-1 outline-gray-300 placeholder:text-gray-400 focus:outline-2 focus:-outline-offset-2 focus:outline-indigo-600 sm:text-sm/6"                          />                      </div>                  </div>
                  <div>                      <div className="flex items-center justify-between">                          <label htmlFor="password" className="block text-sm/6 font-medium text-gray-900">                              Password                          </label>                      </div>                      <div className="mt-2">                          <input                              id="password"                              name="password"                              type="password"                              required                              autoComplete="current-password"                              className="block w-full rounded-md bg-white px-3 py-1.5 text-base text-gray-900 outline outline-1 -outline-offset-1 outline-gray-300 placeholder:text-gray-400 focus:outline-2 focus:-outline-offset-2 focus:outline-indigo-600 sm:text-sm/6"                          />                      </div>                  </div>
                  <div>                      <button                          type="submit"                          className="flex w-full justify-center rounded-md bg-indigo-600 px-3 py-1.5 text-sm/6 font-semibold text-white shadow-xs hover:bg-indigo-500 focus-visible:outline-2 focus-visible:outline-offset-2 focus-visible:outline-indigo-600"                      >                          Sign in                          {state === "login" ? "Log in" : "Register"}                      </button>                  </div>              </form>
<p className="mt-10 text-center text-sm/6 text-gray-500"> Not a member?{' '} <a className="font-semibold text-indigo-600 hover:text-indigo-500 cursor-pointer"> Register now {state === "login" ? "Not a member?" : "Already a member?"}{' '} <a className="font-semibold text-indigo-600 hover:text-indigo-500 cursor-pointer" onClick={() => setState(state === "login" ? "register" : "login")}> {state === "login" ? "Register now" : "Login here"} </a> </p> </div> </div> );}import { provider } from "@/lib/provider";import { Auth } from "./auth";import { Dashboard } from "./dashboard";
async function authAction(formData, state) { "use server";
const email = formData.get("email"); const password = formData.get("password");
if (state === "login") { await provider.auth.login(email, password, { minimumPasswordLength: 6 }); } else { await provider.auth.register(email, password, { minimumPasswordLength: 6 }); }}
export default async function Home() { const isAuthenticated = await provider.auth.isAuthenticated();
return isAuthenticated ? <Dashboard /> : <Auth />; return isAuthenticated ? <Dashboard /> : <Auth authAction={authAction} />;}That’s all! The users will be able to register and login. After a successful authentication, they will be redirected to dashboard. You can manage the users from https://app.productflame.com. It was that simple.
User Info on the Dashboard page
Section titled “User Info on the Dashboard page”Get some basic info about the logged in user.
import { provider } from "@/lib/provider";
const dateFormater = new Intl.DateTimeFormat("en-US", {  year: "numeric",  month: "long",  day: "numeric"});
export async function Dashboard() {  const { email, payment: { usedTrial, subscriptions }, created } = await provider.user.getUser();
  return (      <div>          <h1>Welcome back</h1>          <p>Email: {email}</p>          <p>Used Trial: {usedTrial.toString()}</p>          <p>Account created: {dateFormater.format(new Date(created))}</p>          <p>{subscriptions.length > 0 ? "Your subscriptions are: " + subscriptions.join(", ") : "No subscriptions"}</p>      </div>  );}
Log Out
Section titled “Log Out”If a user is allowed to log in, then he should be allowed to log out as well, right? Fortunately, calling provider.auth.logout() is enough to log out the user.
import { provider } from "@/lib/provider";import LogOut from "./dashboard/logout";
const dateFormater = new Intl.DateTimeFormat("en-US", {  year: "numeric",  month: "long",  day: "numeric"});
export async function Dashboard() {  const { email, payment: { usedTrial, subscriptions }, created } = await provider.user.getUser();
return ( <div> <h1>Welcome back</h1> <p>Email: {email}</p> <p>Used Trial: {usedTrial.toString()}</p> <p>Account created: {dateFormater.format(new Date(created))}</p> <p>{subscriptions.length > 0 ? "Your subscriptions are: " + subscriptions.join(", ") : "No subscriptions"}</p> <LogOut /> </div> );}"use client";
import { useRouter } from "next/navigation"
export default function LogOut() { const router = useRouter();
async function onClick() { await fetch("/api/auth/logout", { method: "POST" }); router.refresh(); }
return ( <button className="w-44 flex justify-center rounded-md bg-indigo-600 px-3 py-1.5 text-sm/6 font-semibold text-white shadow-xs hover:bg-indigo-500 focus-visible:outline-2 focus-visible:outline-offset-2 focus-visible:outline-indigo-600" onClick={onClick} > Logout </button> );}Make sure to create a logout endpoint.
import { revalidatePath } from "next/cache";import { provider } from "@/lib/provider";
export async function POST() {  await provider.auth.logout();  revalidatePath("/");  return new Response(null);}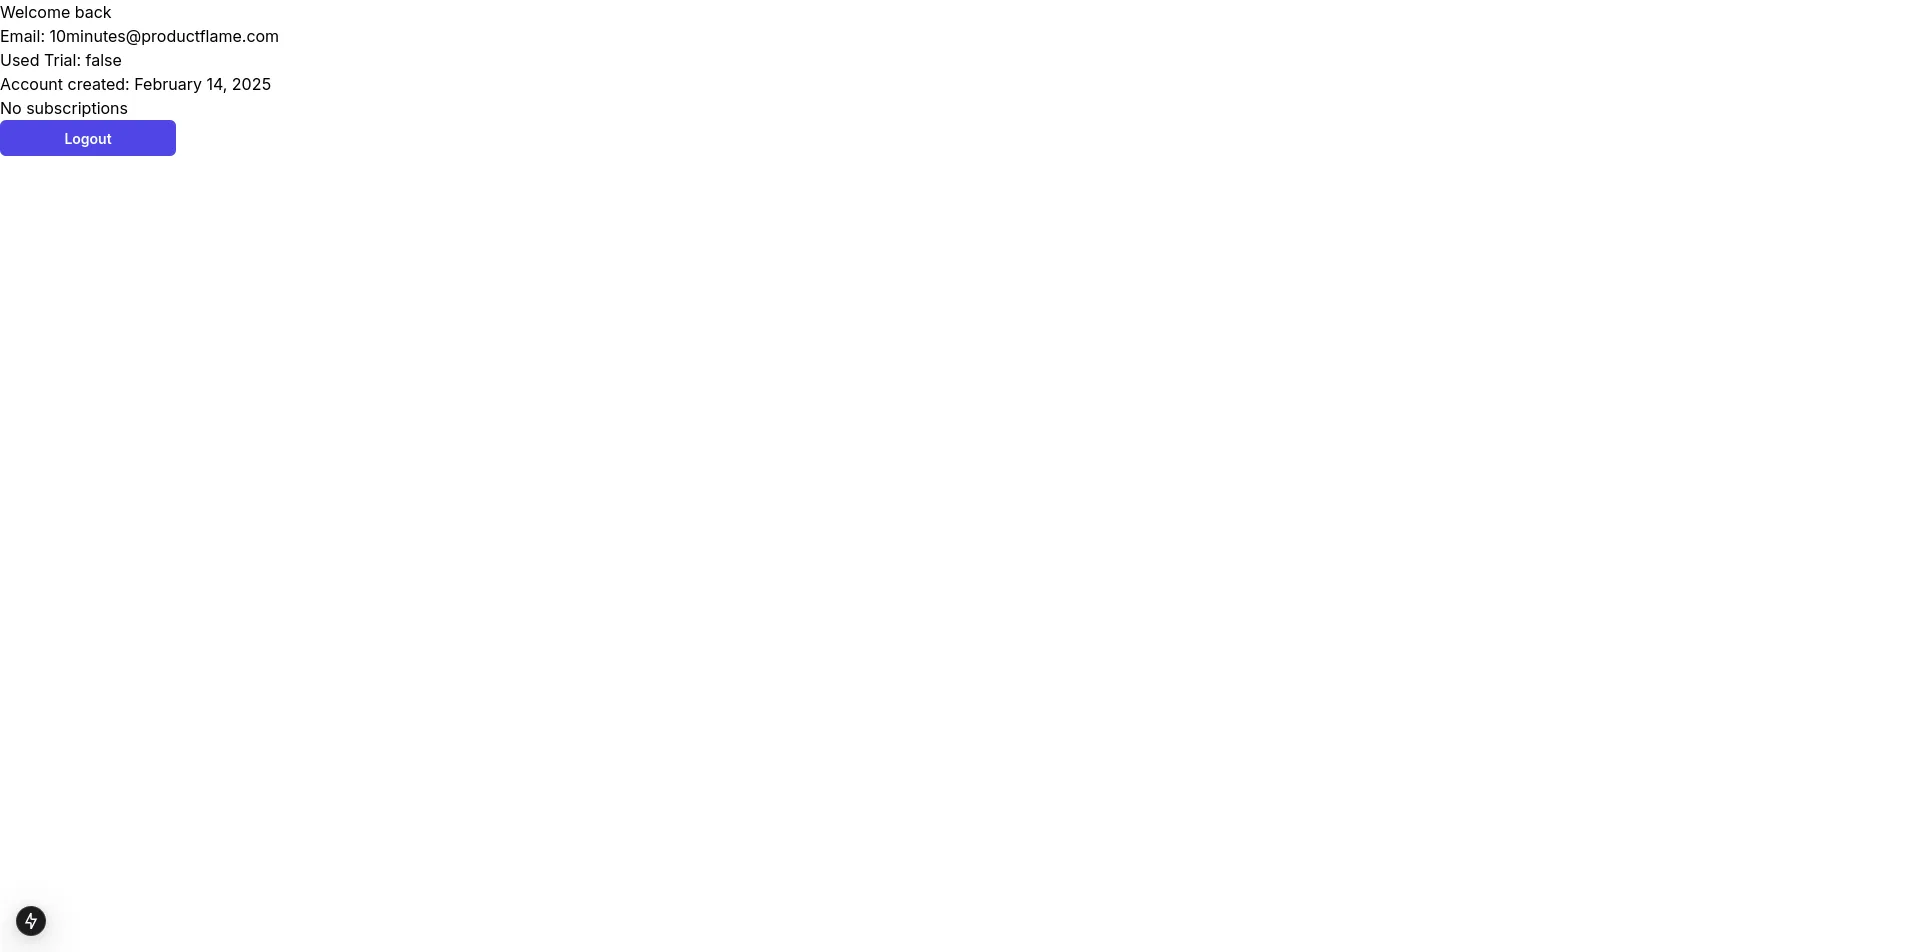
Implement subscriptions
Section titled “Implement subscriptions”Any SAAS app needs a way to make money. The most common way is through subscriptions. Let’s implement a simple subscription system. Make sure that payments are already set up. You can find a a step-by-step tutorial here.
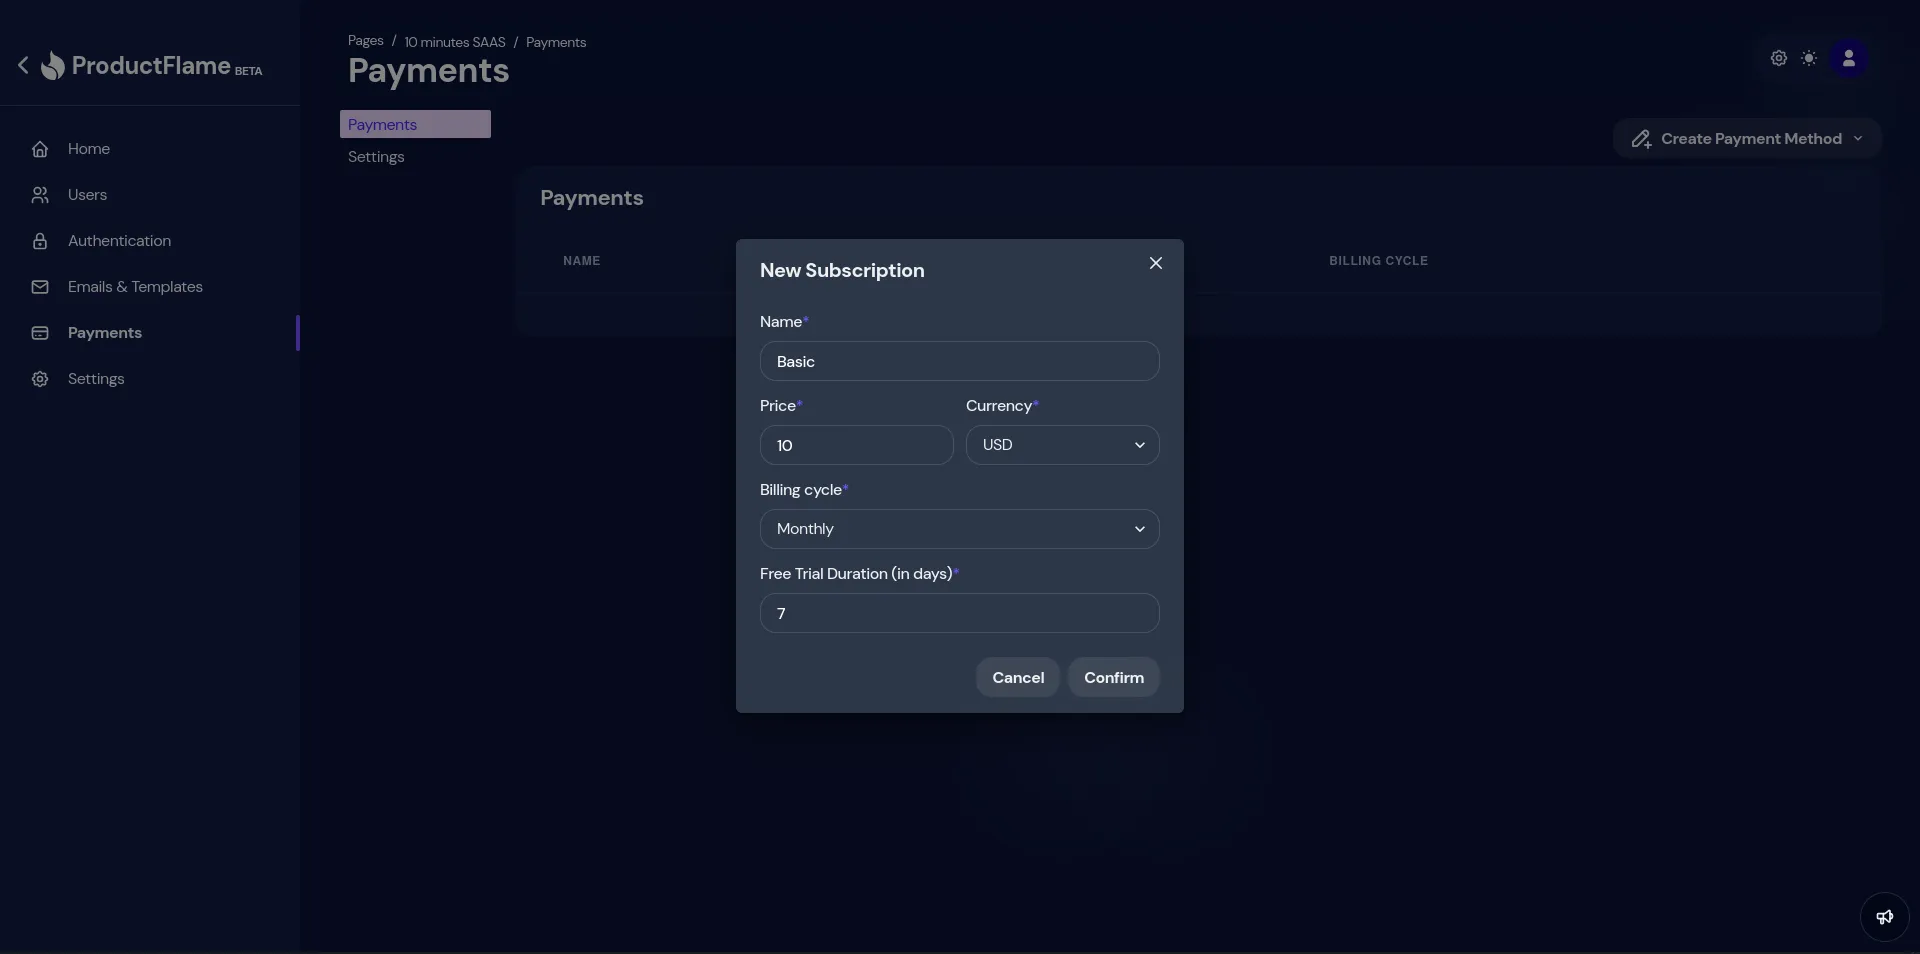
We will create a subscription called “Basic” with a price of $10/month with 7 days trial. This is done from the dashboard. More info.
Let’s show a section on our app’s front page where the user can see his subscription status and a button to subscribe.
import { provider } from "../lib/provider";import LogOut from "./dashboard/logout";import PayButton from "./dashboard/pay-button";
const dateFormater = new Intl.DateTimeFormat("en-US", {  year: "numeric",  month: "long",  day: "numeric"});
export async function Dashboard() {  const { email, payment: { usedTrial, subscriptions }, created } = await provider.user.getUser();  const { email, payment: { usedTrial }, created } = await provider.user.getUser();
  const subscription = await provider.user.subscription.get("Basic");
  return (      <div>          <h1>Welcome back</h1>          <p>Email: {email}</p>          <p>Used Trial: {usedTrial.toString()}</p>          <p>Account created: {dateFormater.format(new Date(created))}</p>          {subscription ? (              <p>To Do</p>          ) : <PayButton />}          <LogOut />      </div>  );}
The button will trigger a request to the /api/pay endpoint, which will create a checkout session and redirect the user to Stripe’s checkout page.
"use client";
export default function PayButton() {  async function onClick() {      const res = await fetch("/api/pay", {          method: "POST",          headers: {              "Content-Type": "application/json",          },      });
      const { url } = await res.json();      location.href = url;  }
  return (      <button          className="my-2 w-44 flex justify-center rounded-md bg-indigo-600 px-3 py-1.5 text-sm/6 font-semibold text-white shadow-xs hover:bg-indigo-500 focus-visible:outline-2 focus-visible:outline-offset-2 focus-visible:outline-indigo-600"          onClick={onClick}      >          Subscribe      </button>  )}
Let’s create the endpoint.
import { provider } from "@/lib/provider";
export async function POST() {  const { url } = await provider.user.initPayRequest({      paymentName: "Basic",      successUrl: "http://localhost:3000",    // obviously change this in production      cancelUrl: "http://localhost:3000",  });
  return new Response(JSON.stringify({ url }), {      status: 200,      headers: {          "Content-Type": "application/json",      },  });}
The initPayRequest() function will generate a stripe checkout session and return its url and id. The successUrl and cancelUrl are passed to the Stripe checkout session.
This is how the dashboard will look like if the user is not subscribed:

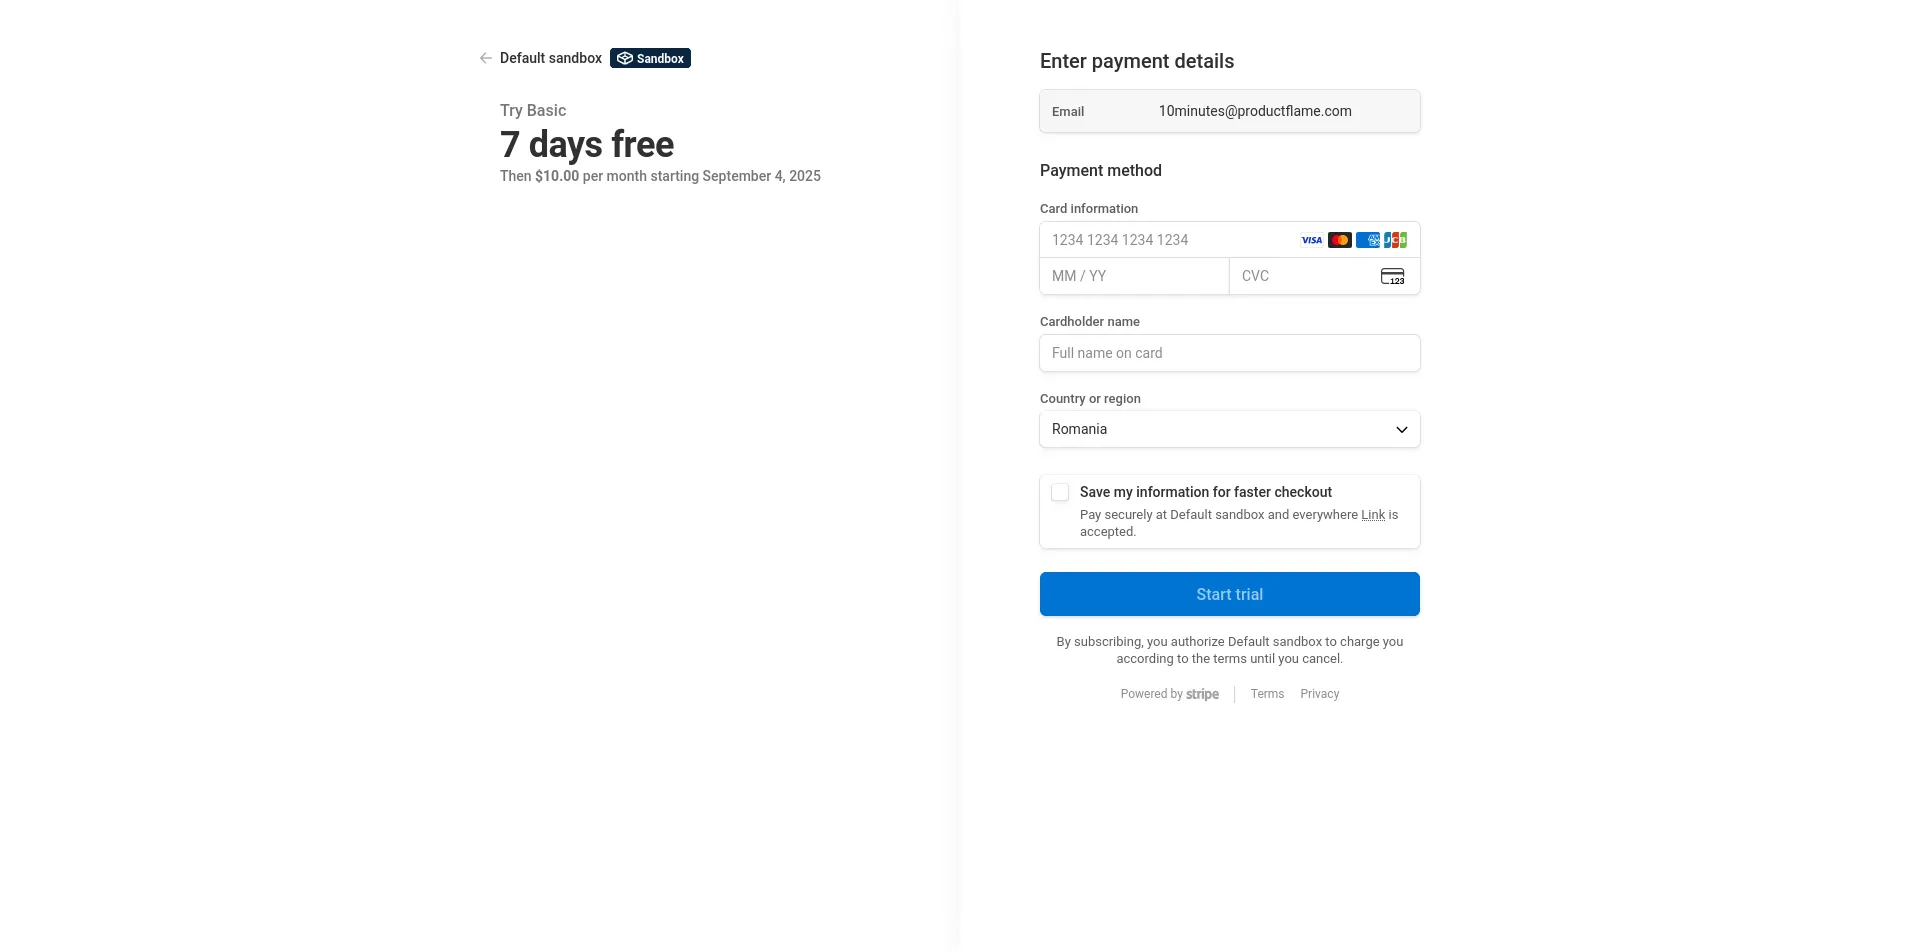
Pressing the subscribe button will trigger the payment request and redirect to the Stripe Checkout.
After the successful payment, the user will be redirected back to the dashboard. Now, as the user is subscribed, we can show some info about his subscription.
import { provider } from "../lib/provider";import LogOut from "./dashboard/logout";import PayButton from "./dashboard/pay-button";
const dateFormater = new Intl.DateTimeFormat("en-US", {  year: "numeric",  month: "long",  day: "numeric"});
export async function Dashboard() {  const { email, payment: { usedTrial }, created } = await provider.user.getUser();
  const subscription = await provider.user.subscription.get("Basic");
  return (      <div>          <h1>Welcome back</h1>          <p>Email: {email}</p>          <p>Used Trial: {usedTrial.toString()}</p>          <p>Account created: {dateFormater.format(new Date(created))}</p>          {subscription ? (              <p>To Do</p>              <p>Subscribed to {subscription.name} ({subscription.amount}{subscription.currency}/{subscription.interval}). Next payment will be triggered in {((subscription.current_period_end - Date.now() / 1000) / 3600 / 24).toFixed(0)} days.</p>          ) : <PayButton />}          <LogOut />      </div>  );}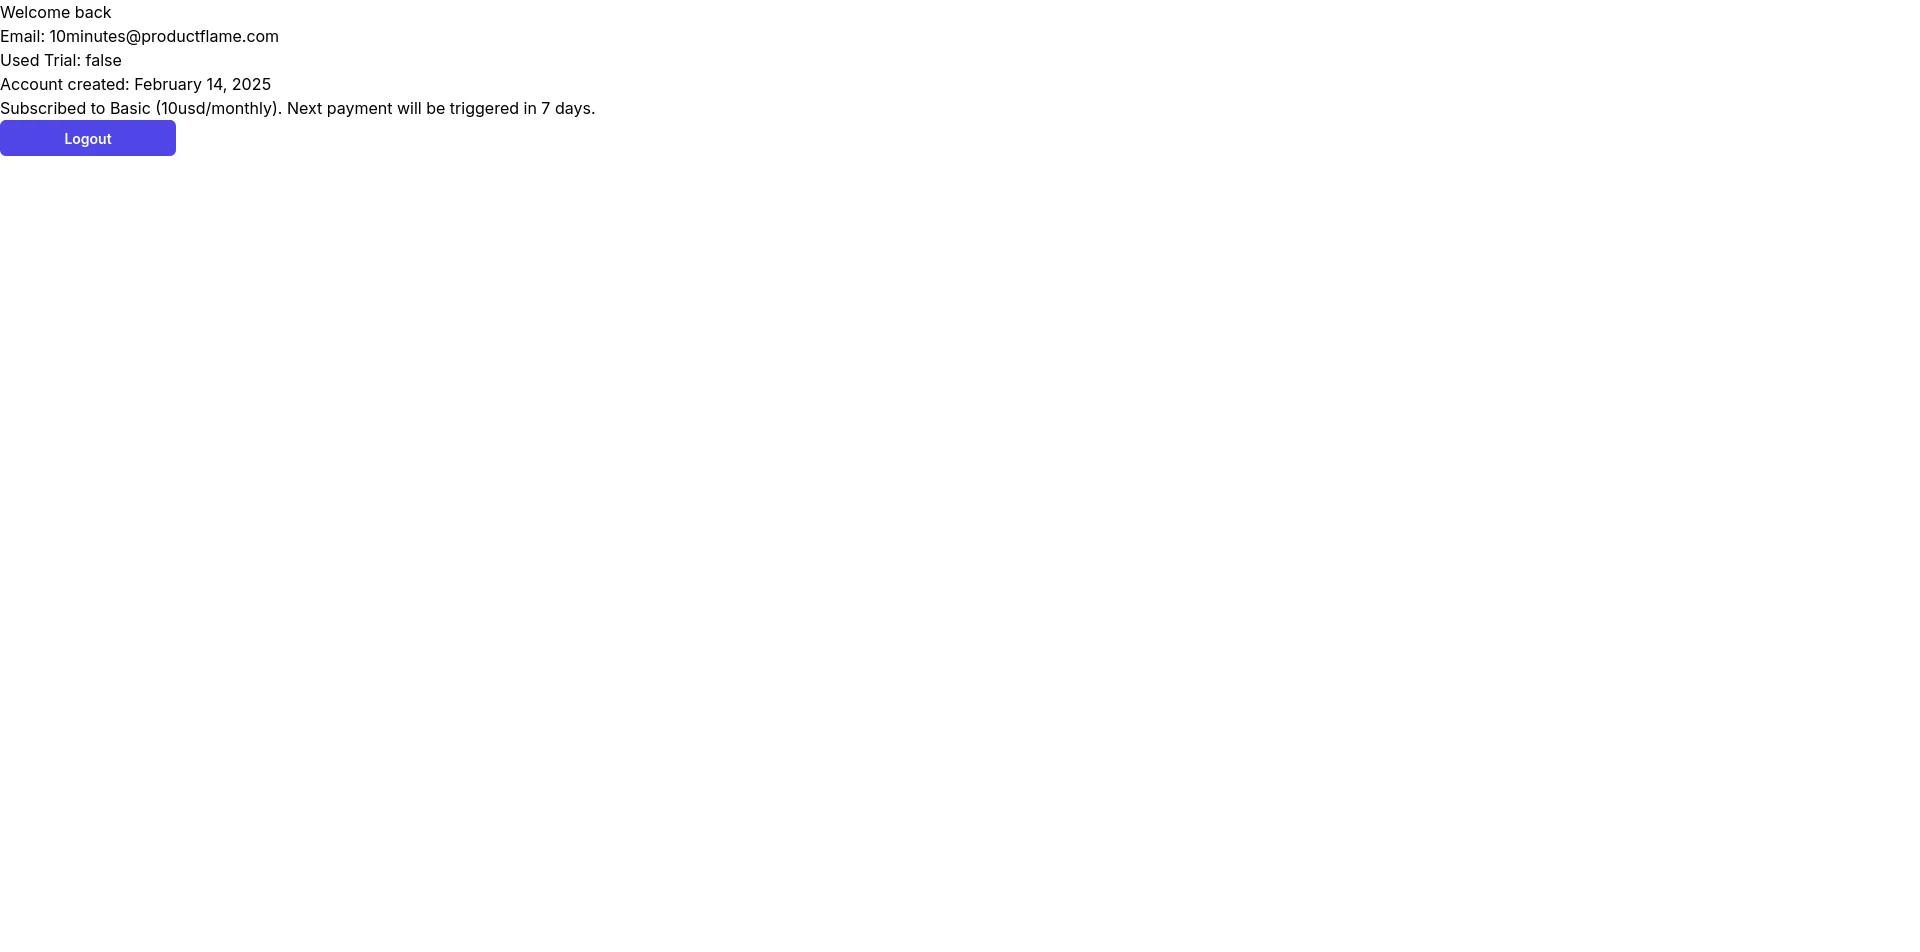
Final Words
Section titled “Final Words”That was all! This tutorial was meant to show how powerful ProductFlame is. We implemented the barebones of a SAAS app in record time. Now the only thing left is to build the features that will change the world!